
Keeping your vinyl records clean is important to keeping their sound quality good for as long as possible. If you’ve heard weird sounds when playing a record like popping, scratchy quality or any kind of weird distortion (maybe even a little fuzzy), it’s possible that your records might be in need of a good cleaning. And we’re here to show just how you can clean your vinyl records with a few DIY solutions!
Cleaning your vinyls might be a little scary. It only takes the wrong cleaning material or a dirty cloth to irreparably ruin your record permanently. But there’s no need to get scared into buying something like a specialised vacuum record cleaner that costs hundreds. We’ve got a few different solutions that’ll help you make sure that your records get to live longer while sounding great for years to come!
You do need to clean your records as regularly as possible, and you may need to periodically make use of multiple techniques from this list. While things like dust an small specks of dirt may be removed by dry cleaning, a more thorough process like wet cleaning is needed if you have the habit of touching the surface of your vinyl record directly; which is something you might want to stop doing.
1. Dry Cleaning with Anti-Static Brush
This method does require you to buy an anti-static brush. These are made 2 sets of bristles that: 1) sweep up the dust that’s accumulated inside the vinyl and 2) removes static build up on your vinyl. The Boundless Audio Record Cleaner Brush is a great choice on its own if you’re on a budget.
For Dry Cleaning your vinyl records, we encourage you to get an anti-static brush specifically because this ensures that static build up is reduced as you brush the record. This ensures that it doesn’t end up building a charge that just attracts more dust and renders your work moot.
This is the easiest method and should be done the most regularly. Simply let your record spin on the player and hold it on the record gently as it spins to sweep up the dust. One or two revolutions are enough before you angle the brush to the outer edge of the record and slowly and carefully remove it. Wipe down the brush between cleanings and that’s it!
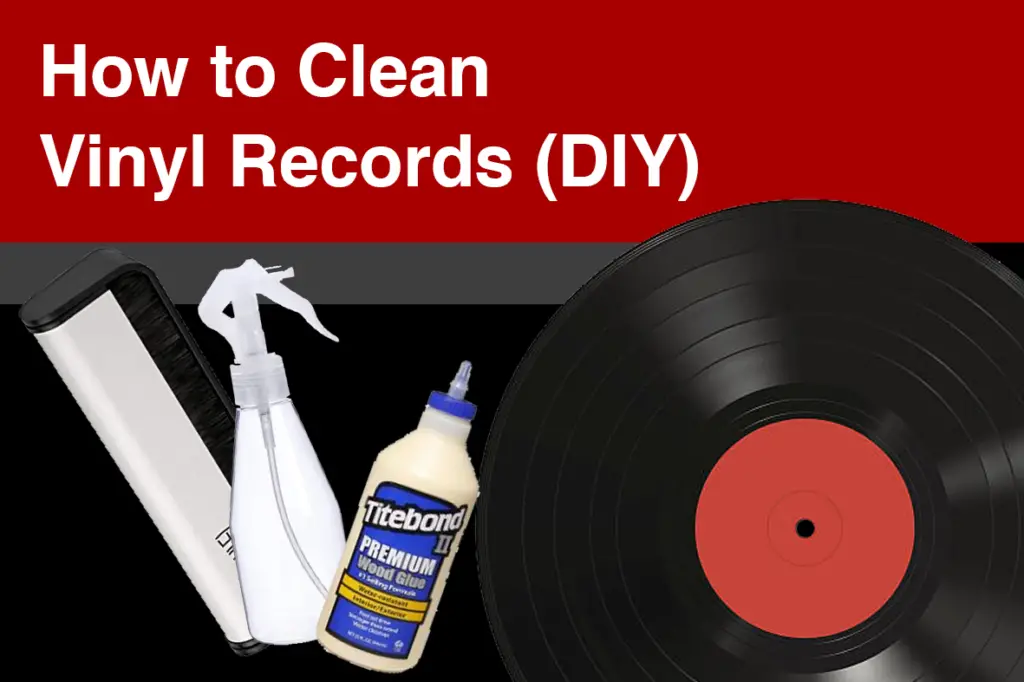
2. Wet Cleaning with a Homemade DIY Solution
You don’t need to do this too often, but it’s recommended to clean out whatever gunk or oil gets stuck in your record that can’t be removed by the dry clean method. Cleaning fluids are usually used to carry out this process. A comprehensive kit such as the KAIU Vinyl Record Cleaner or the Big Fudge Record Care System are some solid choices. However, we do have a DIY solution you can make on your own and use with other items you might already have at home or even purchase very easily from a supermarket.
For your cleaning solution, you will need:
- Distilled water
- 90%-99% isopropyl alcohol
- Dawn Dishwashing fluid (or any that is colourless and without fragrance)
- Clean microfibre cloths – ECloth Microfiber Cloths and the Amazon Basics Microfiber sets work well
- Spray bottle – This is optional, but you will have to drop the solution very sparingly onto the record without it. R2 Goods’ set of 4 Plastic Spray Bottles are a good set you can get for a variety of other cleaning needs too.
Instructions:
- Mix 1 part isopropyl alcohol to 3 parts distilled water then add a few drops of the dish washing fluid into the spray bottle and mix well.
- Place the record on one of the microfiber cloths. This ensures that you’re cleaning it on a soft surface that won’t ruin the other side as you clean.
- Apply the solution to the record and leave it to sit for a few seconds. Watch out for any labels on the record as they may wear out and get into the grooves themselves
- Very gently wipe the vinyl in a clock-wise circular movement that follows the record grooves a few times, then reverse.
- Repeat steps 3 and 4 on the other side
- Wipe with a cloth soaked in distilled water then leave to dry in a vertical position.
The following video gives a great visual guide to the whole process too.
3. Cleaning Vinyl Records with Wood Glue
This one’s a rather popular technique, though requires a bit of time to master. But when you do, you might find. Like many other vinyl enthusiasts, that it’s incredibly effective. The wood glue doesn’t adhere to the vinyl record at all, but it does stick to whatever dirt, oil, dust and even mold that’s on your record. All you need is wood glue and a silicone spatula.
Instructions:
- Put your vinyl record on the record player and have it start spinning.
- Apply the glue to your record as it spins, making a spiral of glue with thin lines as the record rotates.
- Hold the spatula gently to the record as it spins to spread the glue out as even as you can. It’s often advised that you leave a thicker portion at the outer rim to pull on later.
- Leave glue to dry from 15 to 30 minutes
- Peel glue off. Use a soft tool (like a soft wooden popsicle stick in the video below) to peel back a wide enough edge that you can grab onto to pull the glue out in one piece
- Repeat on other side
This method uses less items, and we feel that there’s a bit of satisfaction in pulling off the dried glue and seeing all the dirt that gets caught in it leave your precious records! Check out this video to see this cleaning technique in action (and the very ASMR-esque experience of hearing that layer of glue peel straight off the vinyl)
We hope that this tutorial has been helpful! Taking good care of delicate things like records is important, and we’d be remiss if we didn’t share some tricks to making sure your vinyls stay clean and well preserved. Plus, you’ll also be putting your needle through less stress and risk of damage. Have any recommendations for how to clean vinyl records? Share them below!