
Ultrasonic record cleaners are often said to be the top of the line cleaning machines that’ll make sure your vinyl records are at the very best they can be in terms of sound quality. But this isn’t all there is to it. The ultrasonic system acts like a brush that gets into the grooves of your vinyls during the washing process. What’s just as important as your brush is your cleaning solution.
And that’s what we’re here to tackle to day! We’re here to show you how to make a DIY ultrasonic record cleaning solution that’s sure to breakdown any dirt or gunk no matter how stubborn they may be. Sure, there’s plenty of cleaning solutions that you can buy yourself, but these are typically for direct application to the record for brushing and wiping. Dropping them into the ultrasonic bath dilutes them, and they’re pretty costly to get in large quantities anyways.
The recipe we have here for your DIY ultrasonic vinyl record cleaning needs is one that’s not just tailor made for vinyl cleaning: it’s meant to save you money as well. The initial purchase of the cleaning solution ingredients may cost a pretty penny, but in the long run will save you all the trouble of purchasing cleaning solutions.
The Magic Ultrasonic Vinyl Record Cleaning Solution
You’ll need the following ingredients to make this DIY Cleaning solution:
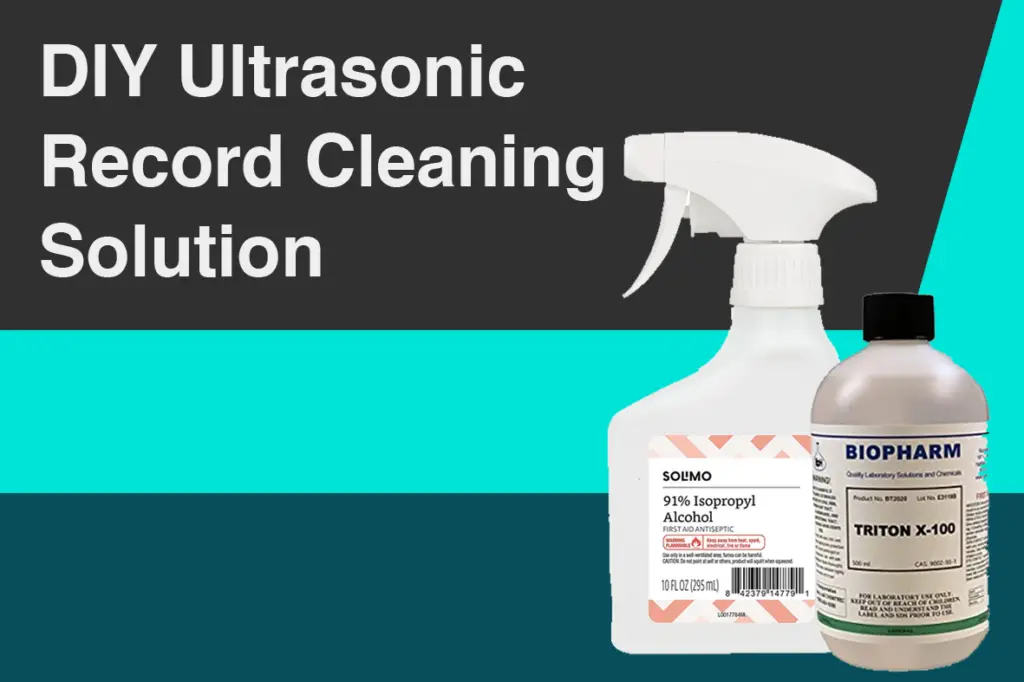
- Triton X-100
- 91% Isopropyl Alcohol – It’s possible that you may need to source for these from local pharmacies
- High Purity Water
Note that this solution is a modified version of a more commonly found recipe when searching for DIY Ultrasonic Record Cleaning Solutions. Most forums with vinyl enthusiasts recommend getting something called Hepastat 256, but this cleaning solution recipe does not use Hepastat 256.
We’ve opted to remove it since, especially in the past year, it’s been difficult to find. The places that do supply them require you to purchase Hepastat 256 in large amounts at high prices, and we honestly think that there’s no need to go through that much effort of buying high grade disinfectants. It’s meant to prevent static charges when you wash your record, but the other ingredients like the Triton X-100 solution are already non-ionic. If you find that you still want to add Hepastat 256 to your solution and have trouble finding it, some record collectors have advised checking out local vinyl shops as other enthusiasts may be willing to share some of the solution if they have it on hand.
To make the solution, simply mix 40 ml of Triton X-100 with 48 ml of isopropyl. Store the solution (as well as the leftover Triton X-100) in a refrigerator when not in use, as this prolongs its shelf life by preventing bacterial growth that will reduce the efficacy of the solution.
When washing records, fill your ultrasonic bath with 750ml of high purity water, add 30 ml of the mixture and then top up with another 400 ml of isopropyl. Should you be using a smaller or larger bath, you will have to change up the amount of the ultrasonic vinyl record cleaning solution and isopropyl added as needed.
How does the Ultrasonic Cleaning Solution Work?
This solution is made to include as many disinfectant products as possible. Triton-X in particular shares common ingredients with other vinyl cleaning solutions, though the bonus of buying it separately is the fact that you can avoid having buy said solutions in smaller and more costly bottles. The isopropyl is a common disinfectant, helping to keep the cleaning mixture for longer. The addition of more isopropyl later on brings up its content to 5% in your ultrasonic bath which is viewed as the ideal amount by many audiophiles when cleaning vinyl records.
Additional Ultrasonic Record Cleaning Tips
Another thing to look out for when using ultrasonic cleaning machines on your vinyl records is the water temperature. Bringing your bath temperature up to 30 to 35 Celsius ensures that the water is warm and is better able to wear down the gunk in the grooves of your vinyl records.
Washing the record one more time with the high purity water and ethanol is another commonly recommended final touch to make doubly sure that your record is fully clean. This isn’t all that necessary, as plenty of vinyl record collectors feel that tap water is enough.
For additional ultrasonic record cleaning tips, this video gives a good and thorough rundown of what to watch out for:
And that’s our take on a DIY ultrasonic record cleaning solution! If I had to be honest, all the different tips and discussions online read fairly like chemistry textbooks written by clean freaks. This isn’t a diss at the various parties who’ve shared their well thought out recipes, but I do feel like a more simplified recipe needed to be shared for novice record cleaners to try before going for a deep dive into buying laboratory grade cleaning solutions when disinfectants are in short commercial supply already.
With any luck, you’ll find that using this DIY solution with your ultrasonic cleaner will get your records playing nicely on your players! We hope you’ve managed to learn a little more about what goes into making basic homemade cleaning solutions through this article. If you’ve got questions or any recommendations of your own, leave a comment below!